
A safer Google Account starts with a few focused checks, not a weekend security project.
In about 20 minutes, you can reduce common account risks and know what still needs attention.
The goal is simple: tighten sign-in, recovery, devices and third-party access without changing everything at once.
This guide avoids extreme promises. No account is impossible to attack, but these steps make everyday protection stronger.
What You Will Improve
By the end, your Google Account should be easier for you to recover and harder for someone else to misuse. The biggest payoff comes from checking four areas: recovery options, sign-in protection, connected devices and app access.
This is especially useful if you use Gmail, Google Drive, YouTube, Android, Chrome sync or saved passwords. One Google Account can sit behind a lot of daily life, so small gaps can matter.
Use this as a practical security pass. If you cannot finish every step today, complete the recovery and sign-in sections first, then return to devices and app access later.
Before You Start
Set aside a quiet 20 minutes and use a device you trust. Avoid doing account security work from a shared computer, a public kiosk or a device you already suspect is compromised.
Have your phone nearby. Some checks may ask you to confirm that it is really you, especially if you change recovery information or sign-in settings.
Do not rush through unfamiliar prompts. If something looks unexpected, pause and read the screen before approving it. The point is to understand what protects the account, not just to click through warnings.
What You Need
You need access to the Google Account you want to protect, a trusted phone or computer, and enough time to review recent activity calmly.
You may also need your recovery phone, recovery email, password manager, passkey-capable device or hardware security key if you already use one. A hardware security key is optional, but it can be a strong choice for people who want extra sign-in protection.
If this account belongs to work, school or an organization, some settings may be managed for you. In that case, follow the options available in your account and ask the administrator before making changes that affect work access.
Step 1: Run a Security Checkup First
Start with Google Account Security Checkup rather than jumping straight into random settings. It gives you a structured view of the account areas most likely to need attention.
Look for warnings about recovery details, recent security activity, connected devices, sign-in methods and third-party access. Treat the checkup as the map for the rest of the 20 minutes.
If the checkup shows several items, handle the account-access items first. Recovery information and sign-in protection usually matter more than tidying old app permissions.
Step 2: Confirm Your Recovery Phone and Email
Recovery details are the account safety net. If your password is changed, your phone is lost or Google needs to confirm your identity, outdated recovery information can slow you down.
Check that the recovery phone number is still yours. If it points to an old number, remove it or replace it with one you control.
Then check the recovery email address. It should be an email account you can still open, not an old school, work or provider address you might lose later.
A useful rule: recovery information should point to accounts and numbers you can access today, not accounts you hope still work.
Step 3: Review Your Password and Saved Password Habits
If your Google Account password is reused elsewhere, change it to a unique one. Reused passwords are risky because a problem on one service can create exposure on another.
A password manager can help you use a long, unique password without memorizing it. If you already use one, check that the saved Google password is current and not duplicated across other services.
Do not share the password through chats, notes or screenshots. If someone else needs access to a file, channel or subscription, use sharing tools instead of sharing the whole account.
Step 4: Turn On or Review 2-Step Verification
Two-step verification adds another check after the password. That extra step can help protect the account if the password is guessed, phished or exposed somewhere else.
If 2-Step Verification is already on, do not just assume it is fine. Review the available methods and remove anything you no longer control.
Prefer methods tied to devices and keys you actually use. Backup options are helpful, but old phones, old numbers and forgotten devices can become weak points.
Step 5: Add a Passkey or Security Key if It Fits Your Setup
Passkeys and hardware security keys can make sign-ins more resistant to common password problems. They are not mandatory for every reader, but they are worth considering.
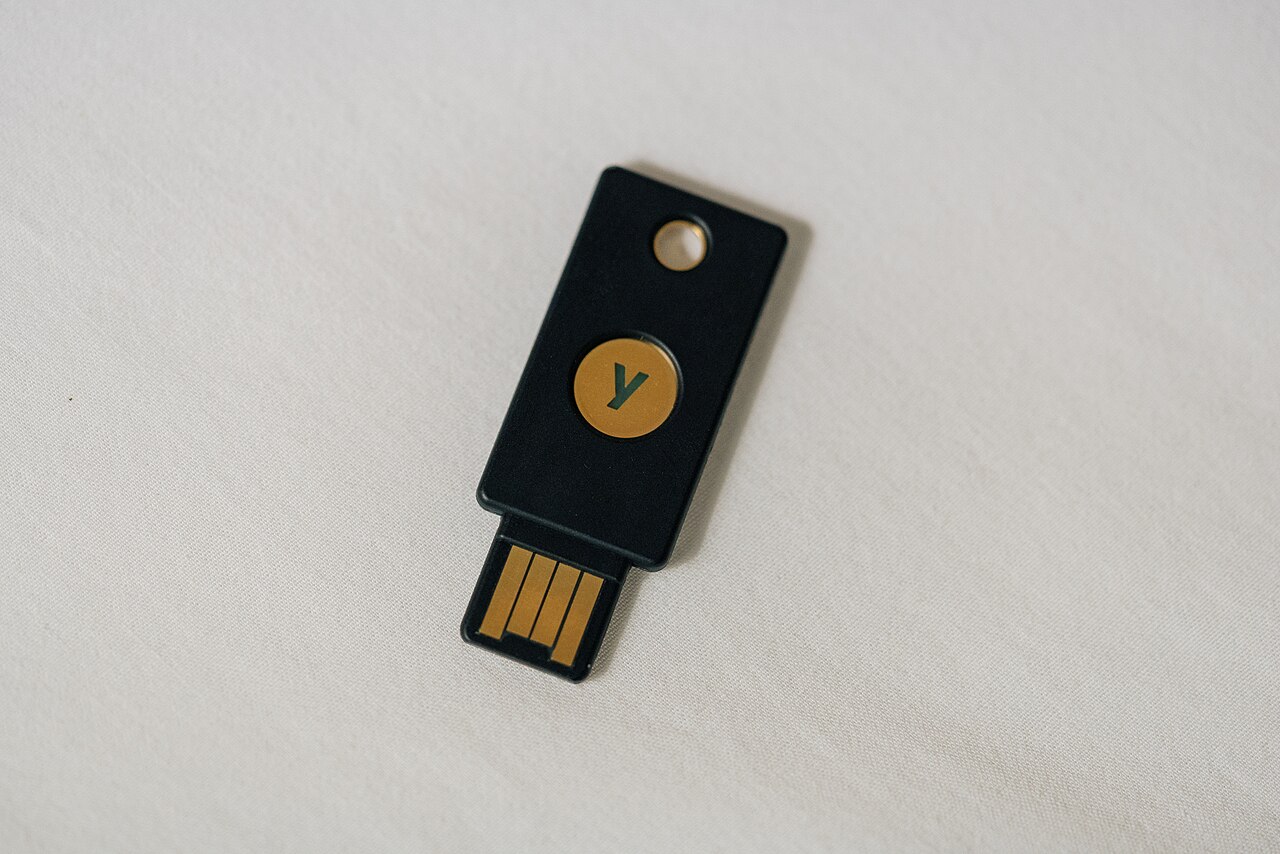
A passkey can let you sign in using a trusted device with local unlock methods such as screen lock or biometrics. A hardware security key is a physical device used during sign-in.
If you add either option, keep recovery in mind. Make sure you understand how you would sign in if your main phone, laptop or key were unavailable.
For high-value personal accounts, a hardware security key can be a practical upgrade. The approved featured image for this article shows a YubiKey-style security key because it represents that kind of stronger sign-in method.
Step 6: Check Devices Signed In to Your Account
Next, review the devices connected to your Google Account. The goal is to spot old phones, shared computers or unknown devices that should not remain signed in.
Do not panic if you see a device name you do not recognize immediately. Device names can be generic, and location clues can sometimes be approximate.
Look for practical signals: a device type you never owned, activity at a strange time, or a device you sold, recycled or gave away. Sign out of devices that no longer belong in the account.
After removing an old device, update your password if the device was lost, shared or outside your control. That keeps the cleanup from depending only on one setting.
Step 7: Review Third-Party App Access
Many people connect apps and services to their Google Account over time. Some are useful. Others become forgotten permissions that no longer need access.
Review apps with account access and remove anything you no longer use, do not recognize or cannot explain. Be especially careful with apps that can access email, files or account data.
This is not about deleting every connection. It is about keeping the list intentional. If an app breaks after removal, you can usually reconnect it later after deciding it still deserves access.
Step 8: Look at Recent Security Activity
Recent security activity can show sign-ins, setting changes and other account events. Read it slowly, especially if you recently received a warning or noticed unusual behavior.
If the activity matches something you did, no action may be needed. If it does not match you, change your password, review sign-in methods and remove suspicious device or app access.
Keep notes if something looks serious. Record the date, device type, approximate location shown and what changed. Clear notes are useful if you need support later.
Step 9: Clean Up Backup Options Without Locking Yourself Out
Security settings should protect you, but they should not leave you unable to recover your own account. Before removing old options, make sure at least one current recovery path remains.
For example, replacing an old phone number is better than simply deleting it and forgetting to add a new one. The same applies to backup email addresses and sign-in methods.
If you use a hardware key, consider how you will handle loss or damage. A second key stored safely can be useful for people who rely heavily on physical security keys.
Step 10: Save a Simple Personal Security Routine
The 20-minute cleanup matters most if it becomes repeatable. Set a reminder to review your Google Account security every few months or after a major device change.
Good times to check include after buying a new phone, selling a laptop, changing phone numbers, noticing suspicious email activity or granting access to a new app.
A short routine is enough: run Security Checkup, review recovery details, check devices, check app access and confirm sign-in methods. That keeps the account from collecting forgotten risks.
Troubleshooting: What to Do If Something Looks Wrong
If you see an unknown device, first compare the device type and timing with your recent activity. If it still does not make sense, sign it out and review your password and sign-in methods.
If you cannot access your recovery phone or email, update recovery details from a trusted device while you are still signed in. Do not wait until an emergency.
If 2-Step Verification creates a sign-in problem, look for backup options you already set up. Avoid disabling extra protection permanently just to solve a temporary access issue.
If an app stops working after you remove access, reconnect only if you still trust and use that app. The inconvenience can reveal which permissions were actually needed.
If account activity suggests someone else may have access, focus on containment: change the password, review recovery details, sign out old devices and remove suspicious app permissions.
Alternatives If You Only Have Five Minutes
If you do not have 20 minutes, do the highest-value checks first. Confirm recovery phone and email, then review 2-Step Verification or passkey options.
If you have another five minutes, check devices signed in to the account. Remove devices you no longer own or recognize after a careful review.
If you have a final five minutes, review third-party app access. Remove old or unfamiliar apps, especially those with broad access to email, files or account data.
This shorter version is not as complete, but it still improves the account more than postponing everything.
Related Articles
These verified TechNubo guides focus on connected technology and practical troubleshooting:
- Toyota Infotainment System: What the Newest Audio Multimedia Setup Does
- HondaLink Not Working? A Practical Troubleshooting Guide
- What Is HondaLink And Is It Better Than CarPlay?
FAQ
Can I make my Google Account completely safe in 20 minutes?
No account can be made completely safe. In 20 minutes, you can improve the most practical protections: recovery details, sign-in methods, devices and app access.
Should I use a passkey or 2-Step Verification?
Use the strongest option that fits your devices and habits. Many people benefit from 2-Step Verification, while passkeys and hardware security keys can add stronger protection.
What should I do first if I think someone accessed my account?
Change your password from a trusted device, review recovery information, sign out unknown devices and remove suspicious app access. Then check recent security activity again.
Is a hardware security key necessary for everyone?
No. It is optional. A hardware security key is most useful for people who want stronger sign-in protection or who depend heavily on one important account.
How often should I review Google Account security settings?
Review them every few months, after changing phones or phone numbers, and anytime you notice unusual account activity or receive a security warning.